There is no such thing as ‘away’. When we throw anything away it must go somewhere.
Annie Leonard
Repurposing your jars is a fun, simple and sustainable way to jazz up any party or gathering. It will appeal to creative people who are always on the hunt for something a bit quirky and/or are consciously making an effort to reuse single-use items and minimise their contribution to landfill.
Are you ready to embrace this newly revived and environmentally friendly craze of drinking out of a jar?
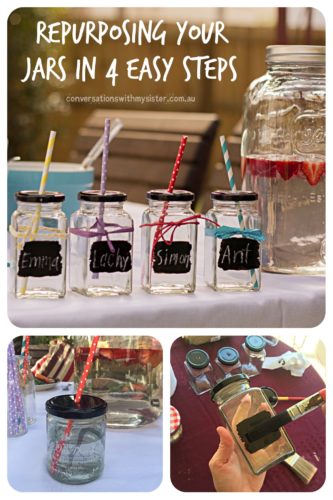
My Sister and I repurposed these four jars as a unique gift for our Mum – one for each of the Grandchildren for when they head over to her house for a visit and a play. The jars were ready to go for a family party on the weekend and the kids just loved the novelty of using them. They came up a treat and led to interesting conversations throughout the afternoon.
Of course, you can pay next to nothing for mass-produced jars in stores all over the country but, why buy something new when you can upcycle your own?
Shop bought ones aren’t ‘made with love’ and they definitely don’t come with a big dose of satisfaction and pride which can only be gained after spending a couple of hours being creative. There’s really nothing like producing something stamped with your own personal handmade touch.
You know how the saying goes:- “If I can do it, anyone can!”
To Begin Repurposing Your Jars You Will Need:

- Jars – screw-on metal lid preferred
- Straws for size measurement
- Drill bit which matches the size of your straw
- Drill bit which is twice the size as your straw
- Clamp
- Oil-based blackboard paint
- Paint brushes
- Chalk
Step One:
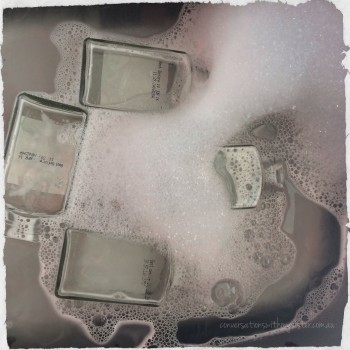
Soak off any labels, clean the glass surface, then allow the jars to completely dry. Eucalyptus or coconut oil is great for any stubborn ones.
Step Two:
Meanwhile, secure lid with the clamp and drill away.
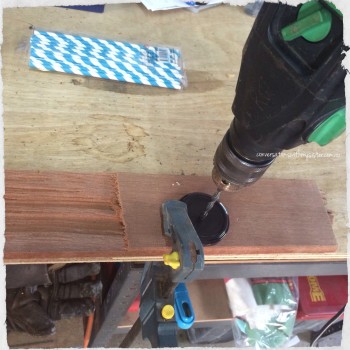 Use a bigger drill bit (by hand) to remove any sharp edges from around the new drill hole.
Step Three:
Once the jars are dry you start to paint.
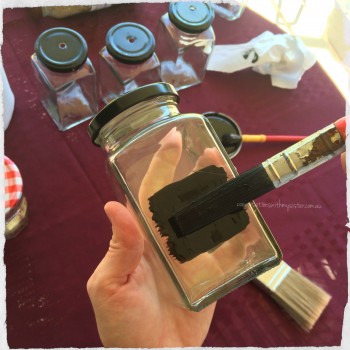
Ensure you use smooth lines so your chalk will easily write over the finished surface. Could this part be handed over to children to keep them amused during the school holidays…?
Step Four:
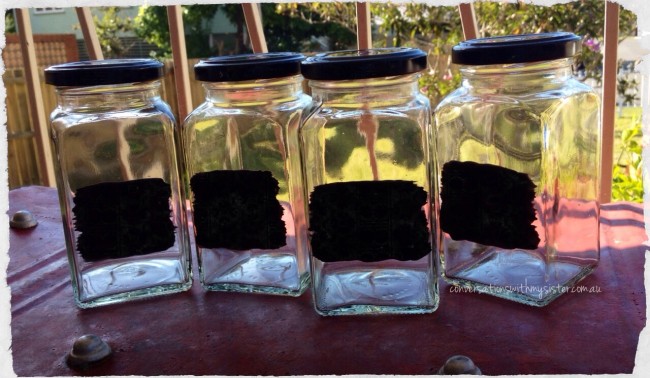 Allow to completely dry before writing on the newly painted area. We had these lying flat in the sun so any excess paint didn’t run and ruin our design.
Wallah!!
Once the initial repurposing project was completed, we went crazy and gave any jar within a 5km radius of the kitchen an image refresh.
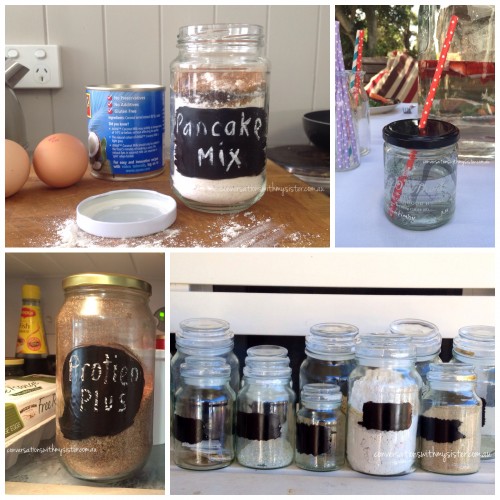
Now for the million-dollar question – what do you think?
By repurposing these humble jars we not only have something which appears new, but have changed their destiny from single-use to reloved – something handy which will be reused over and over and over…
No need for fancy tumblers now, the kids are happier drinking out of a jar – with their own fancy PAPER STRAW of course!
So as the journey to living a sustainable lifestyle continues – we might as well have some fun along the way.
Pin For Later
OR join the conversation
Comment Section Below || Instagram || Facebook || Pinterest
Hope this simple repurposing idea has inspired you and you have some fun with it – we certainly did!
#letsgetcreative…
X Shea




10 Responses to #DIY – Repurposing Your Jars in Four Easy Steps