

Saving and storing rubber bands into a ball is not only an environmentally conscious activity, but it is also a practical money-saving idea. It is not necessary to spend money on a bag of new ones at the supermarket or stationary supply store when you can reuse the ones being delivered to your home for free.
Every day a roll of promotional material (junk mail) and local magazines are delivered to each house in the neighbourhood; most of these rolls are secured with at least one rubber band. Fresh produce and bunches of flowers are also packaged together using rubber bands whether they are purchased from a Farmers Market or local supermarket.
It was many years ago that Mum introduced us to the simple concept of a rubber band ball, so it is thanks to her that this (constantly growing) collection is contained and much more organised.
While they are accumulating in our kitchen drawer they aren’t posing any potential harm to our environment or ending up tangled around, or swallowed by, our innocent wildlife.

Here are the simple steps to making a rubber band ball.
To make a rubber band ball you will need:
Rubber bands – you only need a few to get you started.

Step one:
Gather the rubber bands
Step two:
Scrunch the thickest one up into a tight ball/clump.
Handy tip – the thicker the first band is the easier it is to manage
Step three:
Wrap the remaining rubber bands around the first one, one at a time, with as even tension as possible. Keep in mind the end shape is a ball, so each time you add a new band, remember it needs to be secured as balanced as possible. The more bands you add the easier this becomes.
All done!
This is still the original ball my Mum started and at a guess I would say we have been adding to it for around twelve years – way before ‘Smiggle’ made them trendy. What do you think?
Managing Loom Bands
The next project is finding a safe solution for managing all the colourful ‘loom bands’ our Little Man is proudly bringing home from school on an almost daily basis.

We haven’t been pushed to buy a packet of these tiny plastic bands to date; the ones which arrive home are either gifts or random ones found discarded at school. Our safety conversation included the well-being of our pet chooks, resident blue tongue lizard and the many different types of birds who regularly visit our garden. We also have an ever so curious 11-month-old nephew in the family who, when he visits, spends his time crawling around investigating any new object he discovers by putting it straight in his mouth.
Our Little Man is completely aware of and understands the harm which can be caused by the misplacement of these little pieces of plastic. Thankfully his modest collection seems to have reached its peak. Fingers crossed as, turning those little bands into a compact rubber band ball, which although I’m sure is possible, would require much more time and patience than I have to give.

What do you do with all the rubber bands which arrive at your house? Is making a rubber band ball something you would consider doing? I would love to hear from you if you do and welcome any other ideas you have for safely storing either of these mentioned items.
Join the conversation
Comment Section || Instagram || Facebook || Pinterest ||
Pin For Later
Have fun,
X Shea
Previous conversations
Last week – The Not-So-Perfect Plastic Free July Moments and How To Do Better
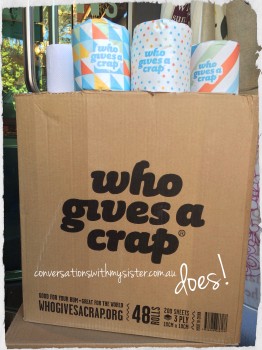
Who Gives A Crap – The Bottom Line
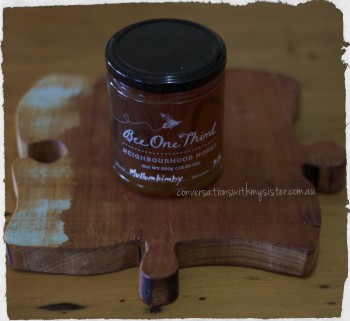
Recent find from Biome – Ethically produced and delicious!!!

Name Your Year – Mid Year Review
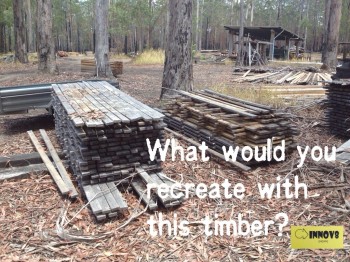
Innov8 – Hancrafting Beautiful Pieces of Unique Furniture


One Response to 3 Easy Steps to Making a Rubber Band Ball